Look at your camera preview in the room where you record. Decide what needs to change: your face is too dark, one side is heavily shadowed or the background is brighter than the subject. A compact light should address that specific problem. Adding a bright source without changing its position can leave the same shadow or create a distracting reflection.
Place a temporary lamp near the proposed location to explore the angle, without assuming its colour or output represents the final product. Check whether the light would appear in glasses, a glossy monitor or a reflective object behind you. A position slightly to one side can produce a different result from a source directly beside the lens.
Make room for the support
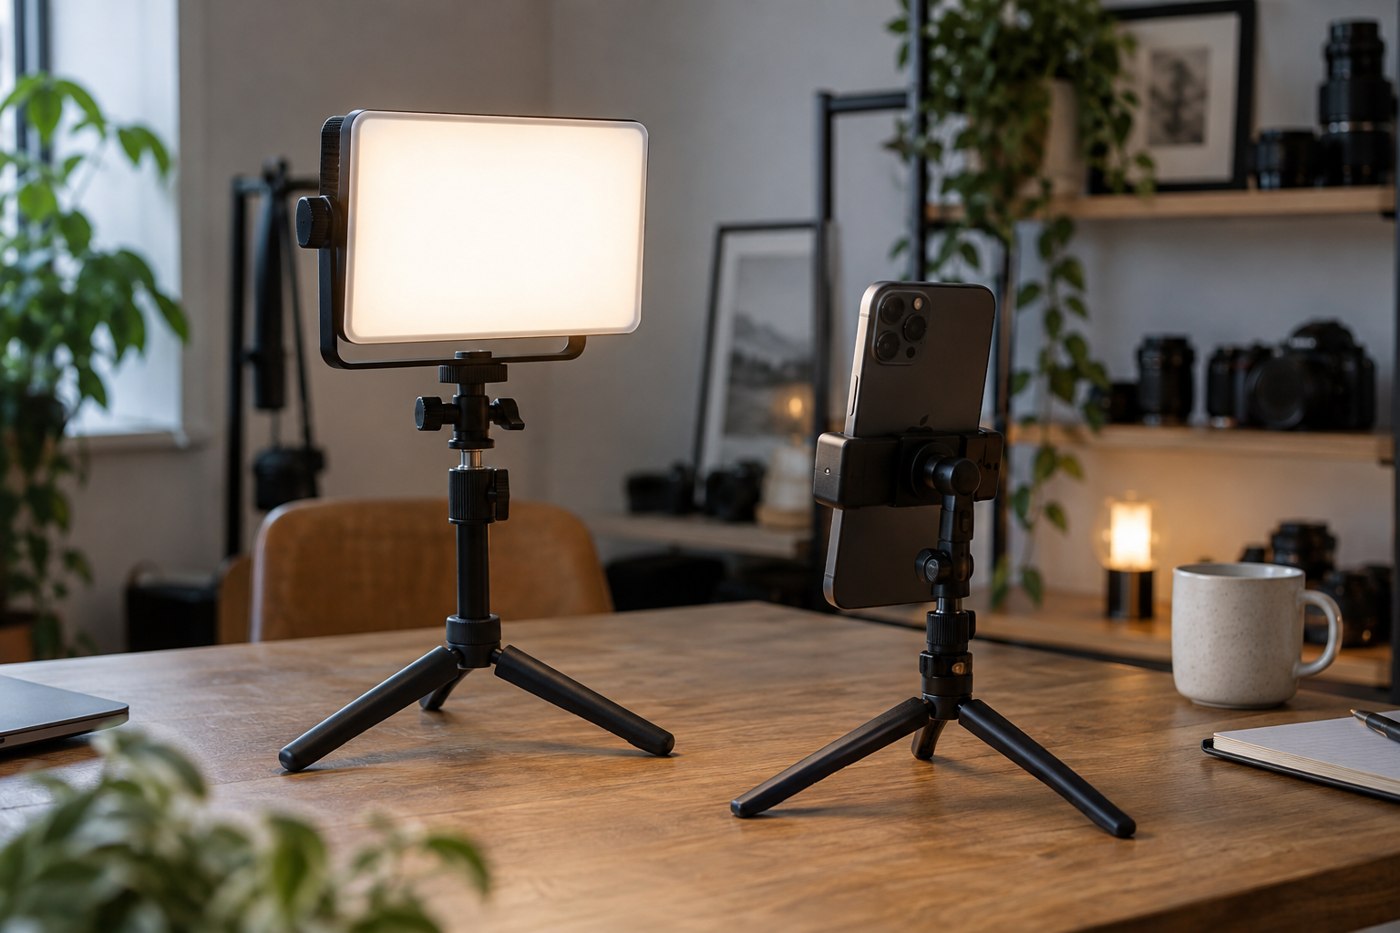
Measure the desk space for the base or clamp, including the area needed to operate controls. Check that the clamp fits the surface and does not interfere with drawers or cable trays. A light on a tall flexible arm can move when the desk is bumped, so consider how much typing or demonstration work happens during recording.
Look for adjustment that suits your task. Dimming is useful when a light sits close to a subject. Colour-temperature adjustment may help you work with other room lighting, but it does not automatically make different sources match perfectly. Judge the result in a recorded sample using the camera settings you intend to keep.
Include power in the recording plan
Check the specified power supply, cable and operating limits. If the light uses a battery, compare its stated runtime conditions with your planned session and brightness. If it uses a cable, route the lead so it cannot pull the support off the desk. Keep ventilation clear as directed by the manufacturer.
Record a short sample with movement and review it on another screen. Look for flicker, unwanted shadows and reflections that were easy to miss in the live preview. Change one setting or position at a time so you understand what improved the image.
A compact light earns its space when you can return it to a repeatable position and obtain the look you need. Marking the stand location and noting a useful brightness setting can save more setup time than adding another light with no defined role.