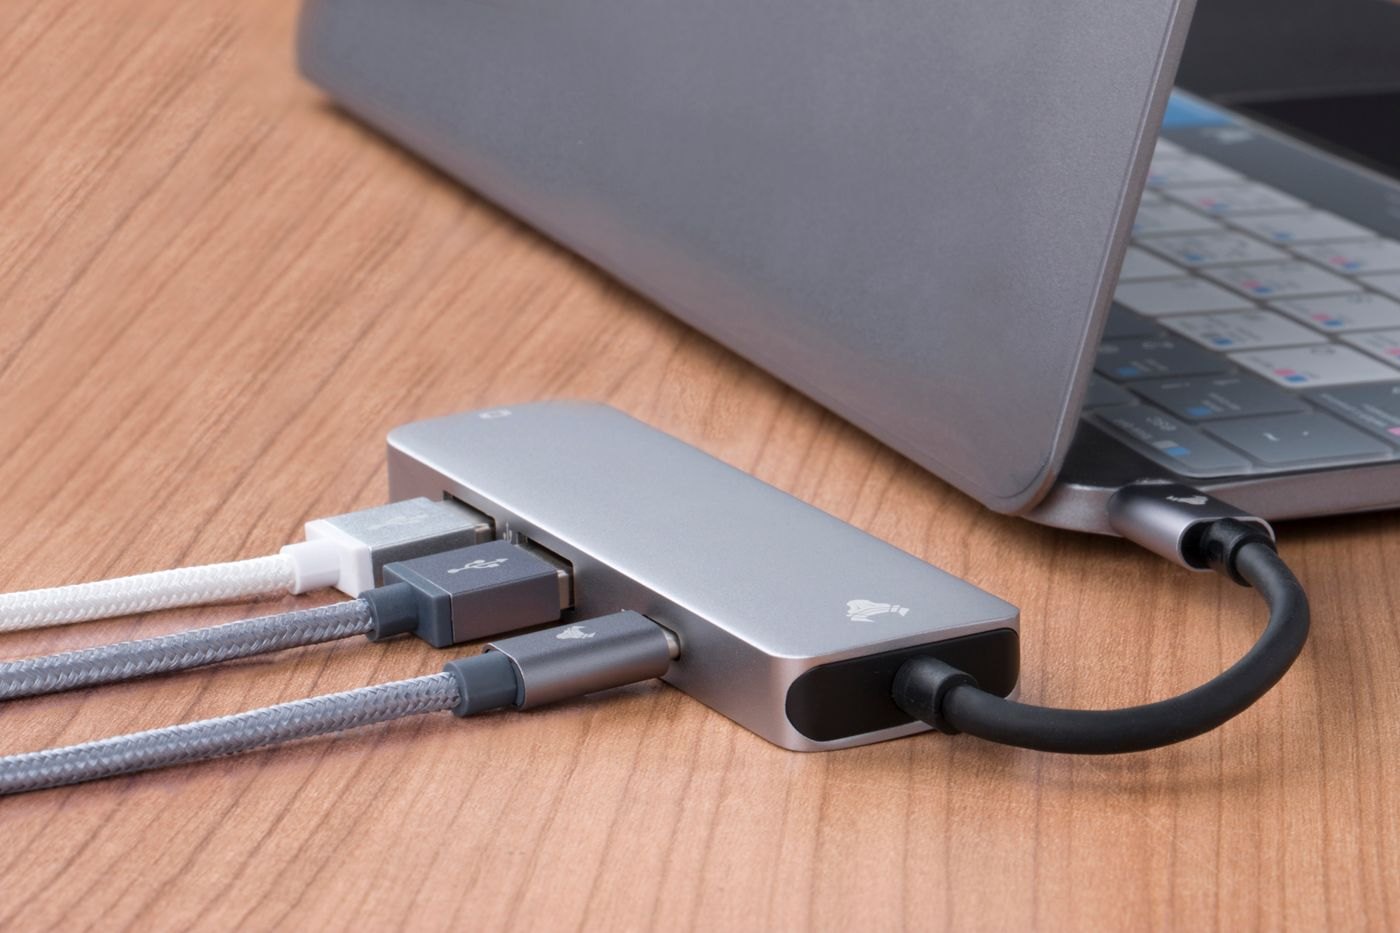
An adapter chain can become difficult to understand because each piece seems reasonable on its own. The source has one connector, the monitor has another, and a spare converter appears to bridge the gap. Start by drawing the actual path in words, from the source port through each accessory to the display input.
For every component, identify its intended direction and supported signal. A connector that can be physically joined to the next item does not prove that the required video path exists. Use the manufacturer documentation for the source, display and each adapter.
Find the original mismatch
Ask why the first adapter was needed. If the source does not offer the required display output, another cable cannot add it merely by changing the plug shape. If the display has a suitable alternative input, a simpler direct route may be available.
DisplayPort's official guidance describes different display connection and conversion arrangements. Use such information to understand the category, then check the exact accessory's specification. Do not assume a converter works in both directions or supports every mode described for the wider interface family.
Separate power from picture
Some accessories require a power connection in addition to the display path. Follow the specified arrangement rather than connecting power to a convenient socket without checking its role. A lit indicator may show that an adapter has power while saying nothing about whether the intended video signal is present.
Check the target resolution and refresh rate across the whole chain. One adapter can limit the available mode even when the source and screen support more. Keep any stated conditions attached to the specification rather than copying only the largest number.
Test the shortest supported route
Where possible, remove unnecessary intermediate pieces and test the documented direct arrangement. Confirm the display input selection and the platform's active display settings. Add a required component only after the baseline works, recording the result at each step.
If the chain still fails, send the complete list of models and directions to the relevant support contact. A photograph can help explain the physical arrangement, but omit private device labels or account information. Stop buying adapters based on appearance once the question is about a missing supported function. The useful fix may be one correctly specified accessory rather than another link in the chain.
Describe the chain so support can reproduce the question
Write a line such as laptop model and port, dock model, adapter model and direction, cable model, monitor input. Add the target display mode and the result actually observed. This gives a support contact the information needed to distinguish a missing capability from a connection or setting problem. Avoid shortening the whole arrangement to USB-C to HDMI if several devices sit between them.
Photograph port labels if that helps your own record, while keeping private identifiers out of material you share. Check whether a cable supplied with an accessory has a specific role. Replacing it with a visually similar lead can change the arrangement, so mention that change rather than assuming it is irrelevant.
If support recommends a different route, confirm exactly which component is being removed or replaced. Test that route before adding the old pieces back. Otherwise a supported fix can be obscured by the same unnecessary conversion that caused uncertainty at the start. Keep the final working chain documented in ordinary terms so the next equipment change begins from a known setup.